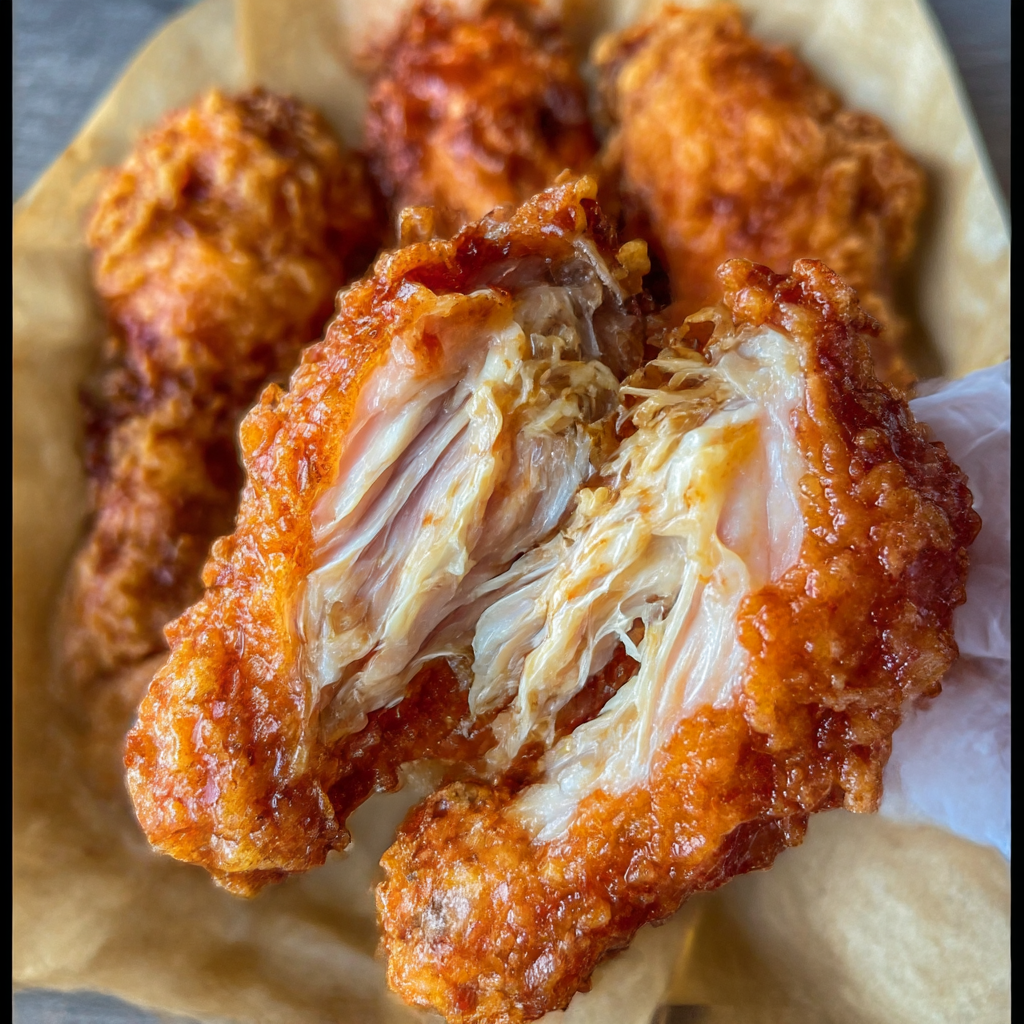
Making restaurant-quality fried chicken at home requires proper technique, timing, and temperature control, but the results are worth the effort. This recipe delivers juicy, tender chicken with a golden, crispy coating that rivals any restaurant version. The key lies in brining the chicken for moisture retention, using a well-seasoned flour mixture, and maintaining consistent oil temperature throughout the frying process.
The double-dredging technique creates an extra-thick coating that stays crispy, while the buttermilk marinade helps tenderize the meat and provides tang that balances the rich, fried exterior. Proper oil temperature management ensures thorough cooking without burning the coating.
Why You’ll Love This Recipe
Restaurant-Quality Results – Achieves the crispy exterior and juicy interior that defines exceptional fried chicken.
Customizable Seasoning – Allows you to control spice levels and flavor profiles to personal preference.
Cost-Effective Alternative – More economical than restaurant versions while often delivering superior taste.
Family Tradition Worthy – Creates the kind of memorable meals that become household favorites.
Technique Building – Teaches fundamental frying skills applicable to other recipes.
Fresh Ingredient Control – Know exactly what goes into your food with no additives or preservatives.
Ingredients You’ll Need
For the Chicken:
- 1 whole chicken (3-4 lbs), cut into 8 pieces, or 8 pieces mixed chicken parts
- 2 cups buttermilk – tenderizes meat and adds tangy flavor
- 2 tablespoons hot sauce (optional) – provides heat and additional flavor
- 1 tablespoon salt – for brining and seasoning
For the Seasoned Flour:
- 2 cups all-purpose flour – creates the crispy coating base
- 2 teaspoons salt – enhances all flavors
- 1 teaspoon black pepper – adds warmth and depth
- 1 teaspoon paprika – contributes color and mild smoky flavor
- 1 teaspoon garlic powder – provides savory aromatics
- 1 teaspoon onion powder – adds sweet, savory notes
- 1/2 teaspoon cayenne pepper – delivers heat (adjust to taste)
- 1/2 teaspoon dried thyme – contributes herbal complexity
- 1/2 teaspoon oregano – adds Mediterranean notes
For Frying:
- 6-8 cups vegetable oil (peanut, canola, or vegetable) – enough for deep frying
- Meat thermometer for checking doneness
Step-by-Step Instructions
Brine the Chicken
Combine buttermilk, hot sauce (if using), and 1 tablespoon salt in a large bowl. Add chicken pieces, ensuring all are submerged. Cover and refrigerate for at least 4 hours or overnight. This step is crucial for moisture and flavor.
Prepare the Seasoned Flour
In a large, shallow dish, whisk together flour, salt, pepper, paprika, garlic powder, onion powder, cayenne, thyme, and oregano until evenly combined. Mix thoroughly to distribute spices uniformly.
Set Up Dredging Station
Remove chicken from buttermilk but don’t pat dry – the moisture helps flour adhere. Set up your workspace with the seasoned flour mixture and a clean plate for coated chicken.
Execute Double-Dredging
Dredge each piece in seasoned flour, pressing firmly to coat completely. Dip briefly back into buttermilk, then dredge again in flour, pressing to ensure thick, even coating. Place on clean plate and let rest 10-15 minutes.
Heat the Oil
In a large, heavy pot or deep fryer, heat oil to 350°F (175°C). Use enough oil so chicken pieces can float freely. Maintain temperature throughout cooking process.
Fry in Batches
Carefully add 3-4 pieces to hot oil, being careful not to overcrowd. Fry for 12-15 minutes for dark meat (thighs, drumsticks) or 10-12 minutes for white meat (breasts, wings), turning once halfway through.
Check for Doneness
Use a meat thermometer to ensure internal temperature reaches 165°F (74°C). The coating should be deep golden brown and crispy.
Drain and Rest
Remove chicken to a wire rack set over paper towels to drain excess oil. Let rest 5 minutes before serving to allow juices to redistribute.
Recipe Notes & Tips
Oil Temperature Control – Maintain 350°F throughout cooking; use a thermometer for accuracy.
Don’t Overcrowd – Fry in batches to maintain oil temperature and ensure even cooking.
Resting Time – Let coated chicken rest before frying to help coating adhere better.
Safety First – Keep a lid nearby when frying and never leave hot oil unattended.
Internal Temperature – Always check doneness with a thermometer; color alone isn’t reliable.
Nutritional Information
- Prep Time: 20 minutes (plus 4+ hours brining)
- Cook Time: 25-30 minutes
- Total Time: 5+ hours (including brining)
- Servings: 4-6 people
- Active cooking time: 45 minutes
Perfect Pairings
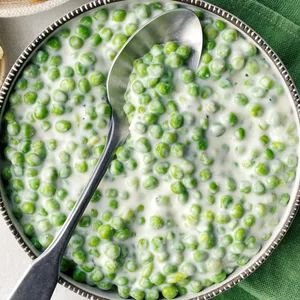
Classic Sides – Mashed potatoes with gravy, coleslaw, and biscuits create the traditional experience.
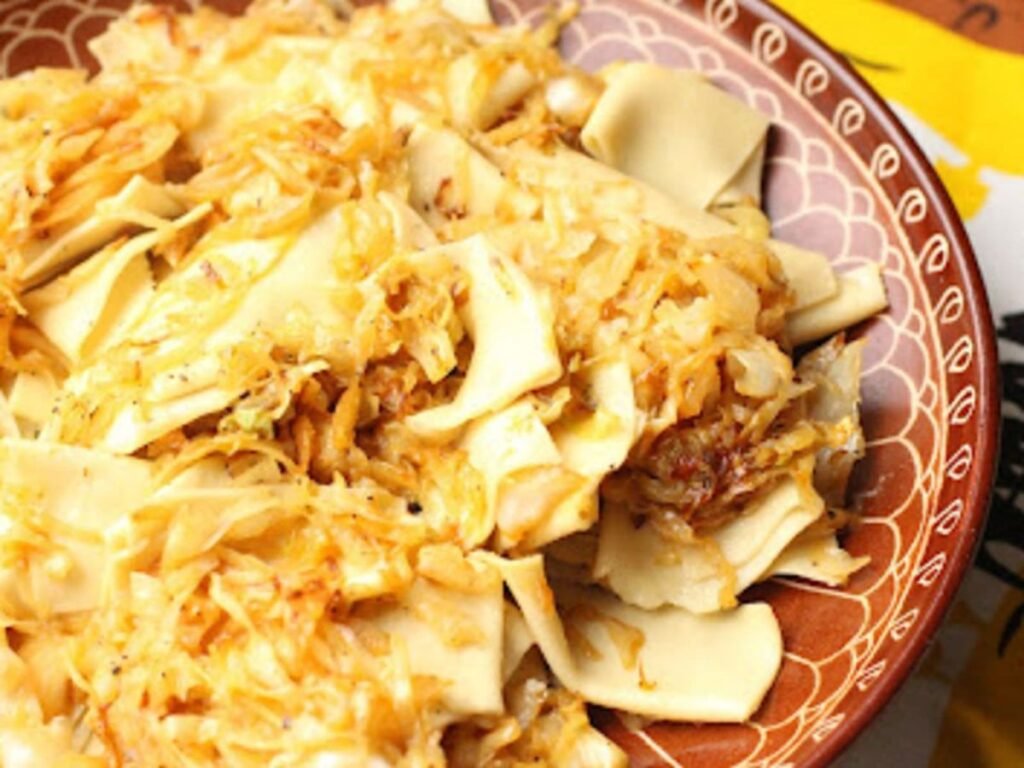
Southern Favorites – Mac and cheese, cornbread, and green beans extend the comfort food theme.
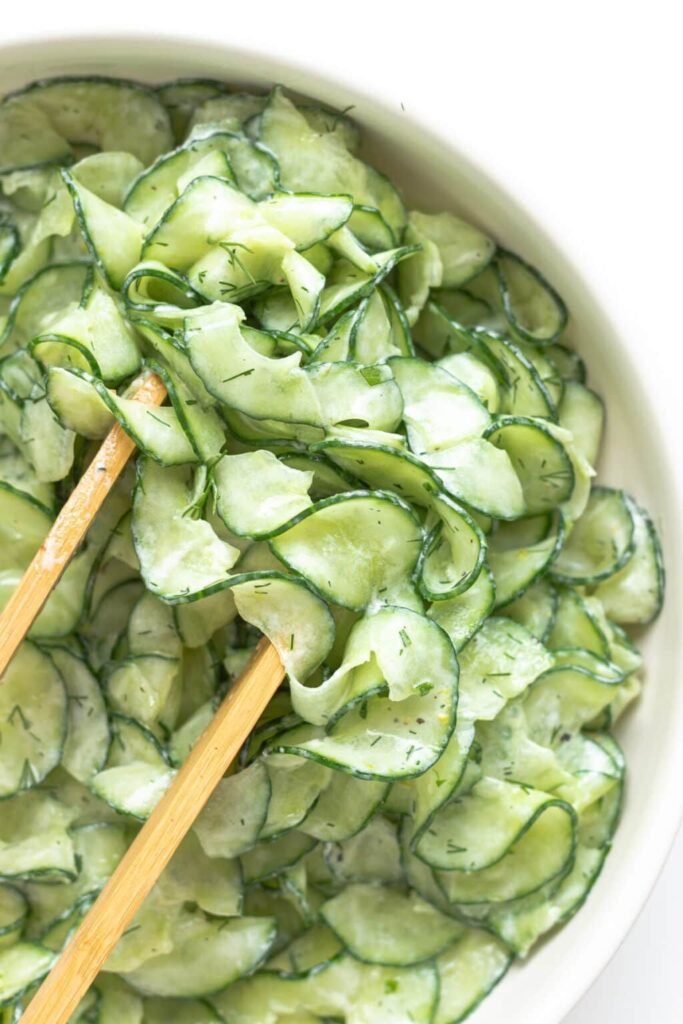
Fresh Contrasts – Potato salad or cucumber salad provide cooling balance to the rich chicken.
Beverage Options – Sweet tea, lemonade, or cold beer complement the crispy, savory flavors.
Safety Considerations
Oil Temperature – Never exceed 375°F to prevent dangerous splattering and smoking.
Fire Safety – Keep a lid nearby and never use water on oil fires; turn off heat and cover pot.
Food Safety – Ensure chicken reaches 165°F internal temperature to prevent foodborne illness.
Hot Oil Handling – Use long-handled utensils and wear protective clothing to prevent burns.
Storage & Reheating Tips
Immediate Serving – Best consumed fresh and hot for optimal texture and flavor.
Leftover Storage – Refrigerate for up to 3 days in airtight containers.
Reheating Method – Use oven at 375°F for 10-15 minutes to restore crispiness; avoid microwave.
Freezing Option – Freeze cooked chicken for up to 3 months; thaw before reheating.
Creative Variations to Try
Spice Adjustments – Modify heat levels by adjusting cayenne and hot sauce quantities.
Herb Variations – Try different herbs like sage, rosemary, or marjoram for unique flavors.
International Twists – Add curry powder, five-spice, or jerk seasoning for global flavors.
Coating Alternatives – Mix in cornmeal or panko breadcrumbs for different textures.
Troubleshooting Common Issues
Soggy Coating – Ensure oil temperature is correct and don’t overcrowd the pot.
Burnt Exterior – Lower oil temperature if coating browns too quickly before chicken cooks through.
Dry Meat – Don’t skip brining step and avoid overcooking; use thermometer for accuracy.
Uneven Browning – Turn chicken pieces carefully and maintain consistent oil temperature.
Why This Recipe Works
This fried chicken succeeds because it addresses the three critical elements: moisture retention through brining, flavor development through proper seasoning, and texture achievement through correct frying technique. The buttermilk brine ensures juicy meat while the seasoned flour creates complex flavor in the coating.
The double-dredging technique builds substantial coating that stays attached during frying, while proper temperature control ensures thorough cooking without burning.
Final Thoughts
Making exceptional fried chicken at home requires patience and attention to detail, but the results surpass most restaurant versions when done correctly. The combination of proper brining, seasoning, and frying technique creates the kind of memorable meal that brings families together around the table.
While the process takes time, most of it is passive, and the active cooking portion delivers the satisfaction of mastering a fundamental comfort food technique that will serve you well for years to come.