
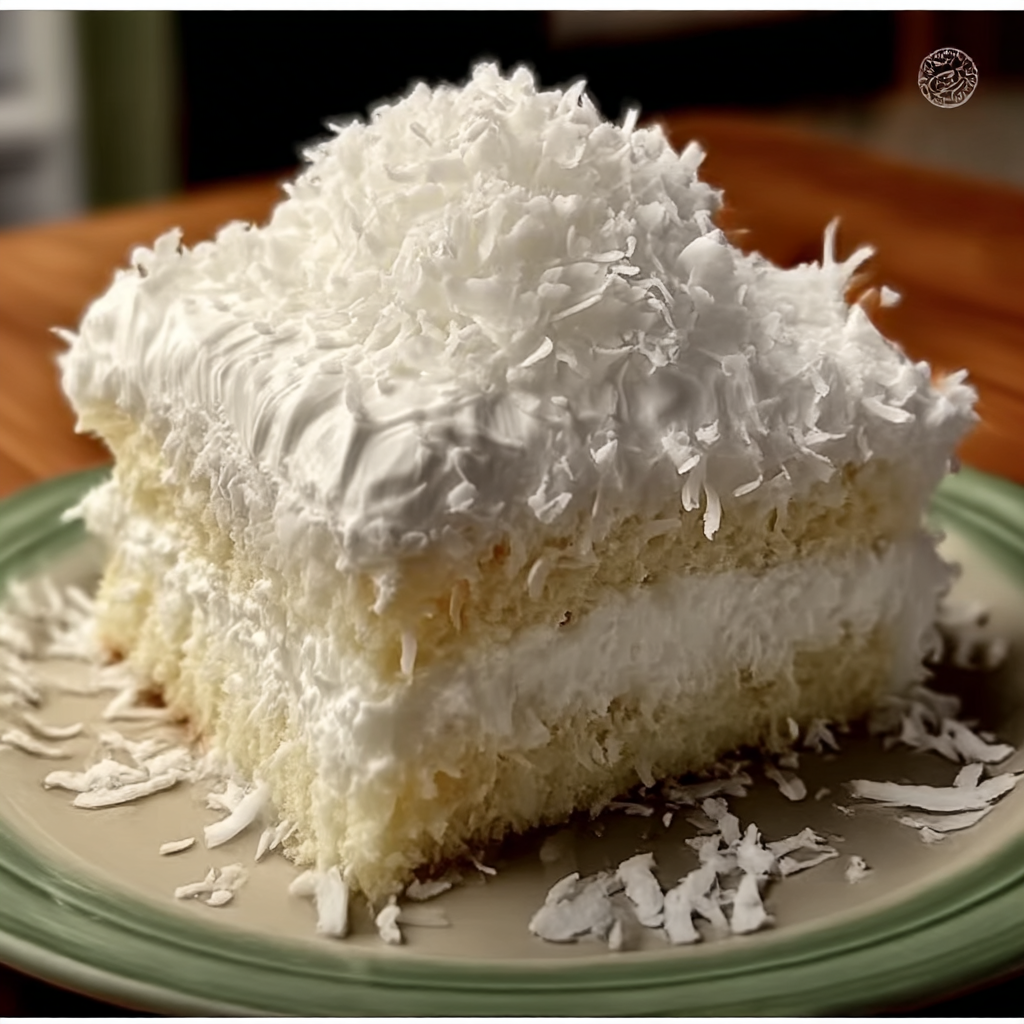
This Creamy Coconut Cake transforms a simple box cake mix into an indulgent tres leches-style dessert that’s soaked with coconut cream and topped with fluffy whipped topping and shredded coconut. The recipe uses the poke cake method, where holes are created in the baked cake to allow the creamy mixture to penetrate throughout, creating incredibly moist texture and intense coconut flavor in every bite.
The combination of cream of coconut and sweetened condensed milk creates a rich, sweet soaking liquid that transforms ordinary cake into something special. This is an ideal dessert for coconut lovers and anyone who enjoys make-ahead desserts that improve with chilling time.
Why You’ll Love This Recipe
Incredibly Moist Texture – The poke cake method ensures every bite is saturated with creamy coconut flavor.
Make-Ahead Convenience – Requires chilling time, making it perfect for preparing in advance for entertaining.
Simple Assembly – Uses convenient ingredients like cake mix and canned products for easy preparation.
Coconut Lover’s Dream – Multiple layers of coconut flavor from cream of coconut, condensed milk, and flaked coconut.
Crowd-Pleasing Size – One 9×13 pan serves a large group, ideal for gatherings and celebrations.
No Frosting Required – The whipped topping and coconut create an elegant finish without complicated decorating.
Ingredients You’ll Need
For the Cake Base:
- 1 package white cake mix (16 oz) – provides neutral foundation that showcases coconut flavors
- Ingredients called for on cake mix box (typically eggs, oil, and water) – follow package directions
For the Coconut Soaking Mixture:
- 1 can cream of coconut (14 oz) – delivers rich, concentrated coconut flavor
- 1 can sweetened condensed milk (14 oz) – adds sweetness and creamy texture
For the Topping:
- 1 container whipped topping (16 oz) – creates light, fluffy finish
- 1 package flaked coconut (10 oz) – provides texture and visual appeal
Step-by-Step Instructions
Bake the Foundation
Prepare and bake white cake according to package directions in a 9×13-inch pan. Allow to cool completely before proceeding – this is crucial for proper absorption of the coconut mixture.
Prepare the Coconut Mixture
In a bowl, whisk together cream of coconut and sweetened condensed milk until well combined. The mixture should be smooth and pourable.
Create the Poke System
Using a wooden spoon handle, skewer, or fork, poke holes all over the surface of the cooled cake, spacing them about 1 inch apart. Make holes deep enough to reach about halfway through the cake.
Soak with Coconut Cream
Slowly pour the coconut mixture over the entire surface of the cake, allowing it to seep into the holes. Pour gradually to ensure even distribution and maximum absorption.
Add the Topping Layer
Spread whipped topping evenly over the entire surface of the cake. Sprinkle flaked coconut generously over the whipped topping, pressing gently to help it adhere.
Chill to Set
Cover and refrigerate for at least 4 hours or overnight. The chilling time allows the coconut mixture to fully penetrate the cake and the flavors to meld together.
Recipe Notes & Tips
Complete Cooling – Ensure cake is completely cool before poking holes to prevent whipped topping from melting.
Hole Spacing – Create holes close enough together for even soaking but not so many that the cake falls apart.
Gradual Pouring – Add coconut mixture slowly to allow proper absorption without overflow.
Chilling Importance – Don’t skip the refrigeration time; the cake needs time to absorb flavors and achieve proper texture.
Coconut Toasting – For extra flavor, lightly toast some of the flaked coconut before sprinkling on top.
Nutritional Information
- Prep Time: 15 minutes (plus baking time)
- Chill Time: 4+ hours
- Total Time: 5+ hours
- Servings: 12-15 pieces
- Rich, indulgent dessert intended for special occasions
Perfect Pairings
Temperature Contrast – Serve with vanilla ice cream as suggested for delightful temperature variation.
Texture Enhancement – Toasted coconut flakes add appealing crunch against the creamy cake.
Tropical Theme – Fresh pineapple or mango slices complement the coconut flavors beautifully.
Beverage Options – Coffee or milk provide pleasant contrast to the sweet, rich dessert.
Ideal Occasions
Summer Gatherings – The chilled serving temperature makes it perfect for warm weather entertaining.
Potluck Contributions – Easy to transport and serves many people with universal appeal.
Birthday Celebrations – Special enough for celebrations while being simple to prepare.
Holiday Desserts – Works well for any occasion where you need a crowd-pleasing dessert.
Storage & Make-Ahead Tips
Advance Preparation – Can be made 1-2 days ahead; flavors actually improve with time.
Refrigerator Storage – Keep covered for up to 5 days; texture and flavor remain excellent.
Serving Temperature – Best served chilled directly from refrigerator.
Transport Friendly – Stable enough for potluck transport when kept cold.
Creative Variations to Try
Chocolate Base – Use chocolate cake mix for a coconut-chocolate combination.
Rum Enhancement – Add 2 tablespoons rum to the coconut mixture for adult version.
Lime Addition – Add lime zest to the coconut mixture for tropical citrus notes.
Nutty Texture – Include chopped macadamia nuts or almonds with the coconut topping.
Troubleshooting Common Issues
Dry Cake – Ensure adequate hole creation and gradual pouring of coconut mixture.
Soggy Results – Don’t over-poke the cake or pour mixture too quickly.
Uneven Soaking – Distribute holes evenly across entire surface for consistent moisture.
Separated Mixture – Whisk coconut cream and condensed milk thoroughly before pouring.
Why This Recipe Works
This coconut cake succeeds because the poke cake method creates maximum surface area for the rich coconut mixture to penetrate, ensuring intense flavor throughout rather than just on the surface. The combination of cream of coconut and sweetened condensed milk provides both flavor intensity and the proper consistency for absorption.
The chilling process allows flavors to develop while achieving the ideal moist, creamy texture that makes this dessert special.
Final Thoughts
This recipe demonstrates how simple techniques can transform basic ingredients into something extraordinary. The poke cake method is particularly effective for creating desserts that are both impressive and accessible, requiring no special skills while delivering professional-quality results.
Whether you’re a coconut enthusiast or simply want a reliable crowd-pleasing dessert, this cake provides the kind of indulgent satisfaction that makes ordinary gatherings feel special.